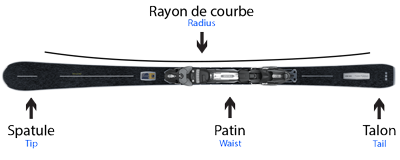
The waist is situated amid the ski, where the bindings lay. Its width goes from 68 mm for the racing skis to 80 mm for the most accessible alpine skis.
The tip,in front ofthe ski, is softer on the accessible skis. It often has a soft rocker (progressive tip) for more versatility on powder.
The tail,cut and stiff on the racing skis for an agressive edging, it's softer for the skis for beginners in order to facilitate the turns
The ski coating is the situated under the skiWhen the range is higher, you can find more performant, quality and lasting ski-coating.
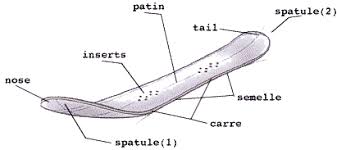
The dimension lines : it's the shape of the ski. The dimension lines are given by the width of the tip, the waist and the tail These three measurements are given in millimeters.
The size : on the slopes choose skis between -15cm and -5cm compared to your height. Short skis will be manoeuvrable and appreciated by beginners while long skis will be more stable at high speed.
The stiffness : we can distinguish the stiffness in the tip, the waist and the tail. A flexible tip absorbs shocks better than a rigid tip, which helps grip in hard snow. The stiffness of the waist will depend on your size and your technical level. The more you will use your skis, the more you will have to choose a rigid ski. Finally, the rigidity at the tail will condition the behavior of the ski when exiting a curve: catchy (rigid) or tolerant (flexible).
The ray : the ray is the natural turn of a ski. A short ray (between 12 and 15m) facilitates small turns, while a long ray (18 to 22m) is better if you ski in large curves.
The camber : it's the curvature of the ski, visible through the space between the sole and the snow in the middle of the ski when you put it on the ground. A marked camber is generally synonymous with nervous skiing.
The weight : if the weight of an alpine ski is less than a ski touring, a light pair of skis will be more maneuverable at low speed and easier to carry.
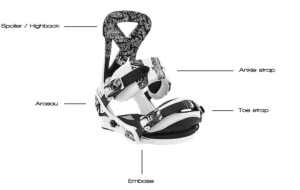
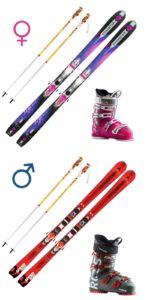
Alpine and all-mountain skis are generally equipped with a plate and sold as a pack with a binding.
You have a leisure practice on slopes You need tolerance and comfort, with soft bindings and and easy to put on,made of plastic
You ski on a slope in a committed way with sharp curves at high speed, you will need a precise binding and powerful, which procures a good grip under your feet. For this, it will integrate metal parts in steel or aluminum. These bindings will be solid and will withstand the constant forces you will exert on it. Your ski boot will be tilted slightly forward and high on the snow to facilitate edging.
The essential safety element on a ski binding is the release or more precisely the release threshold of the latter. It is this trigger in the event of a fall that prevents a large number of injuries, especially to the knees.
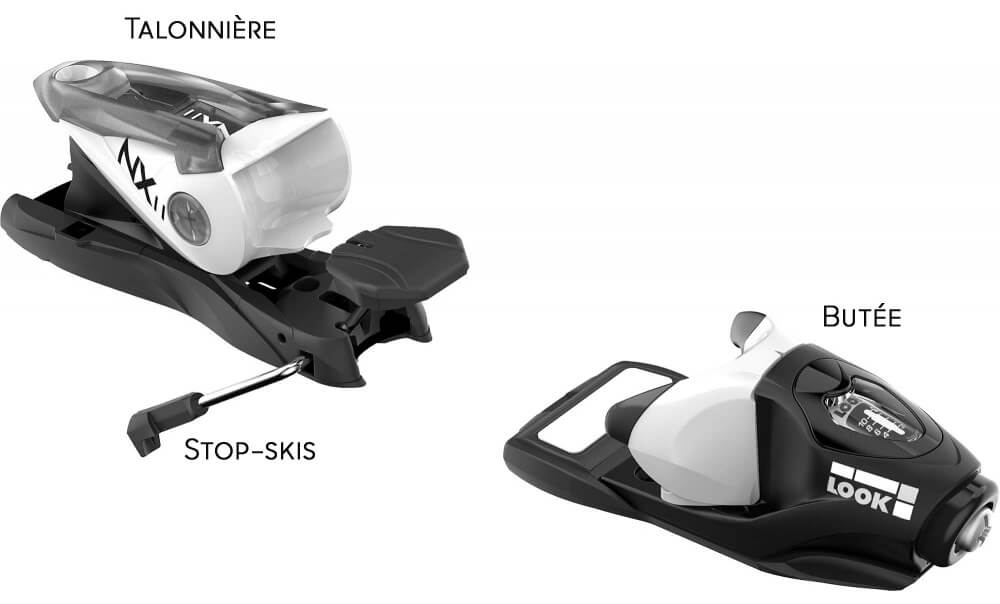
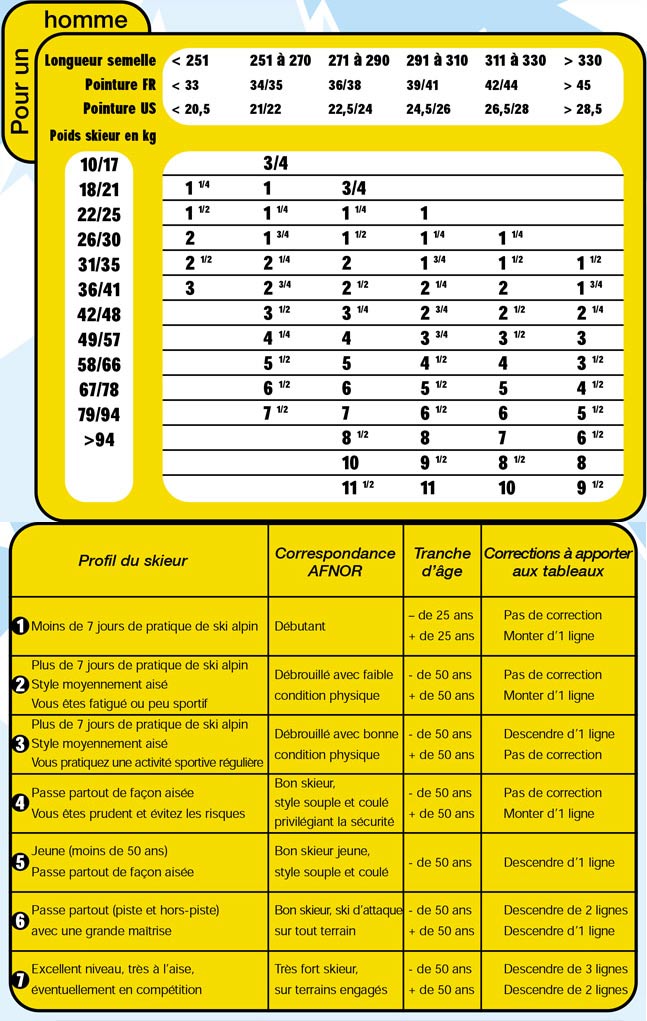
The key is to choose a binding that is suitable for your level and your weight. In order to adapt this triggering threshold to each skier, there is a standard setting to be performed on the heel piece and on the toe piece. This is called the DIN setting generally between 1 and 13. To find out your DIN, there are tables or smartphone applications. These tools allow define the setting of your bindings according to 5 criteria your weight, your age, your size, your level and the lenght of the sole of your ski boots.
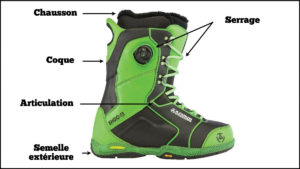
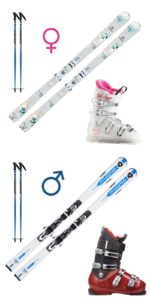
An essential interface with your skis, your boots must provide you with comfort and foot support.
Finding the right model means making wise choices among various parameters such as size, flex, shell and collar shape as well as options such as walking position.

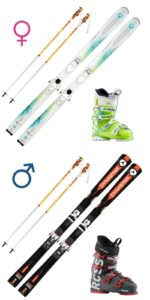
Ski boots for men and women have an ergonomics adapted to the various morphologies, especially in the calf which is inserted lower in women. women have a collar (high part of the boot) lower, more flared and with a cutout at the back to conform to the shape of the calf. The blood circulation and venous return being more sensitive in women, the slippers are generally warmer.
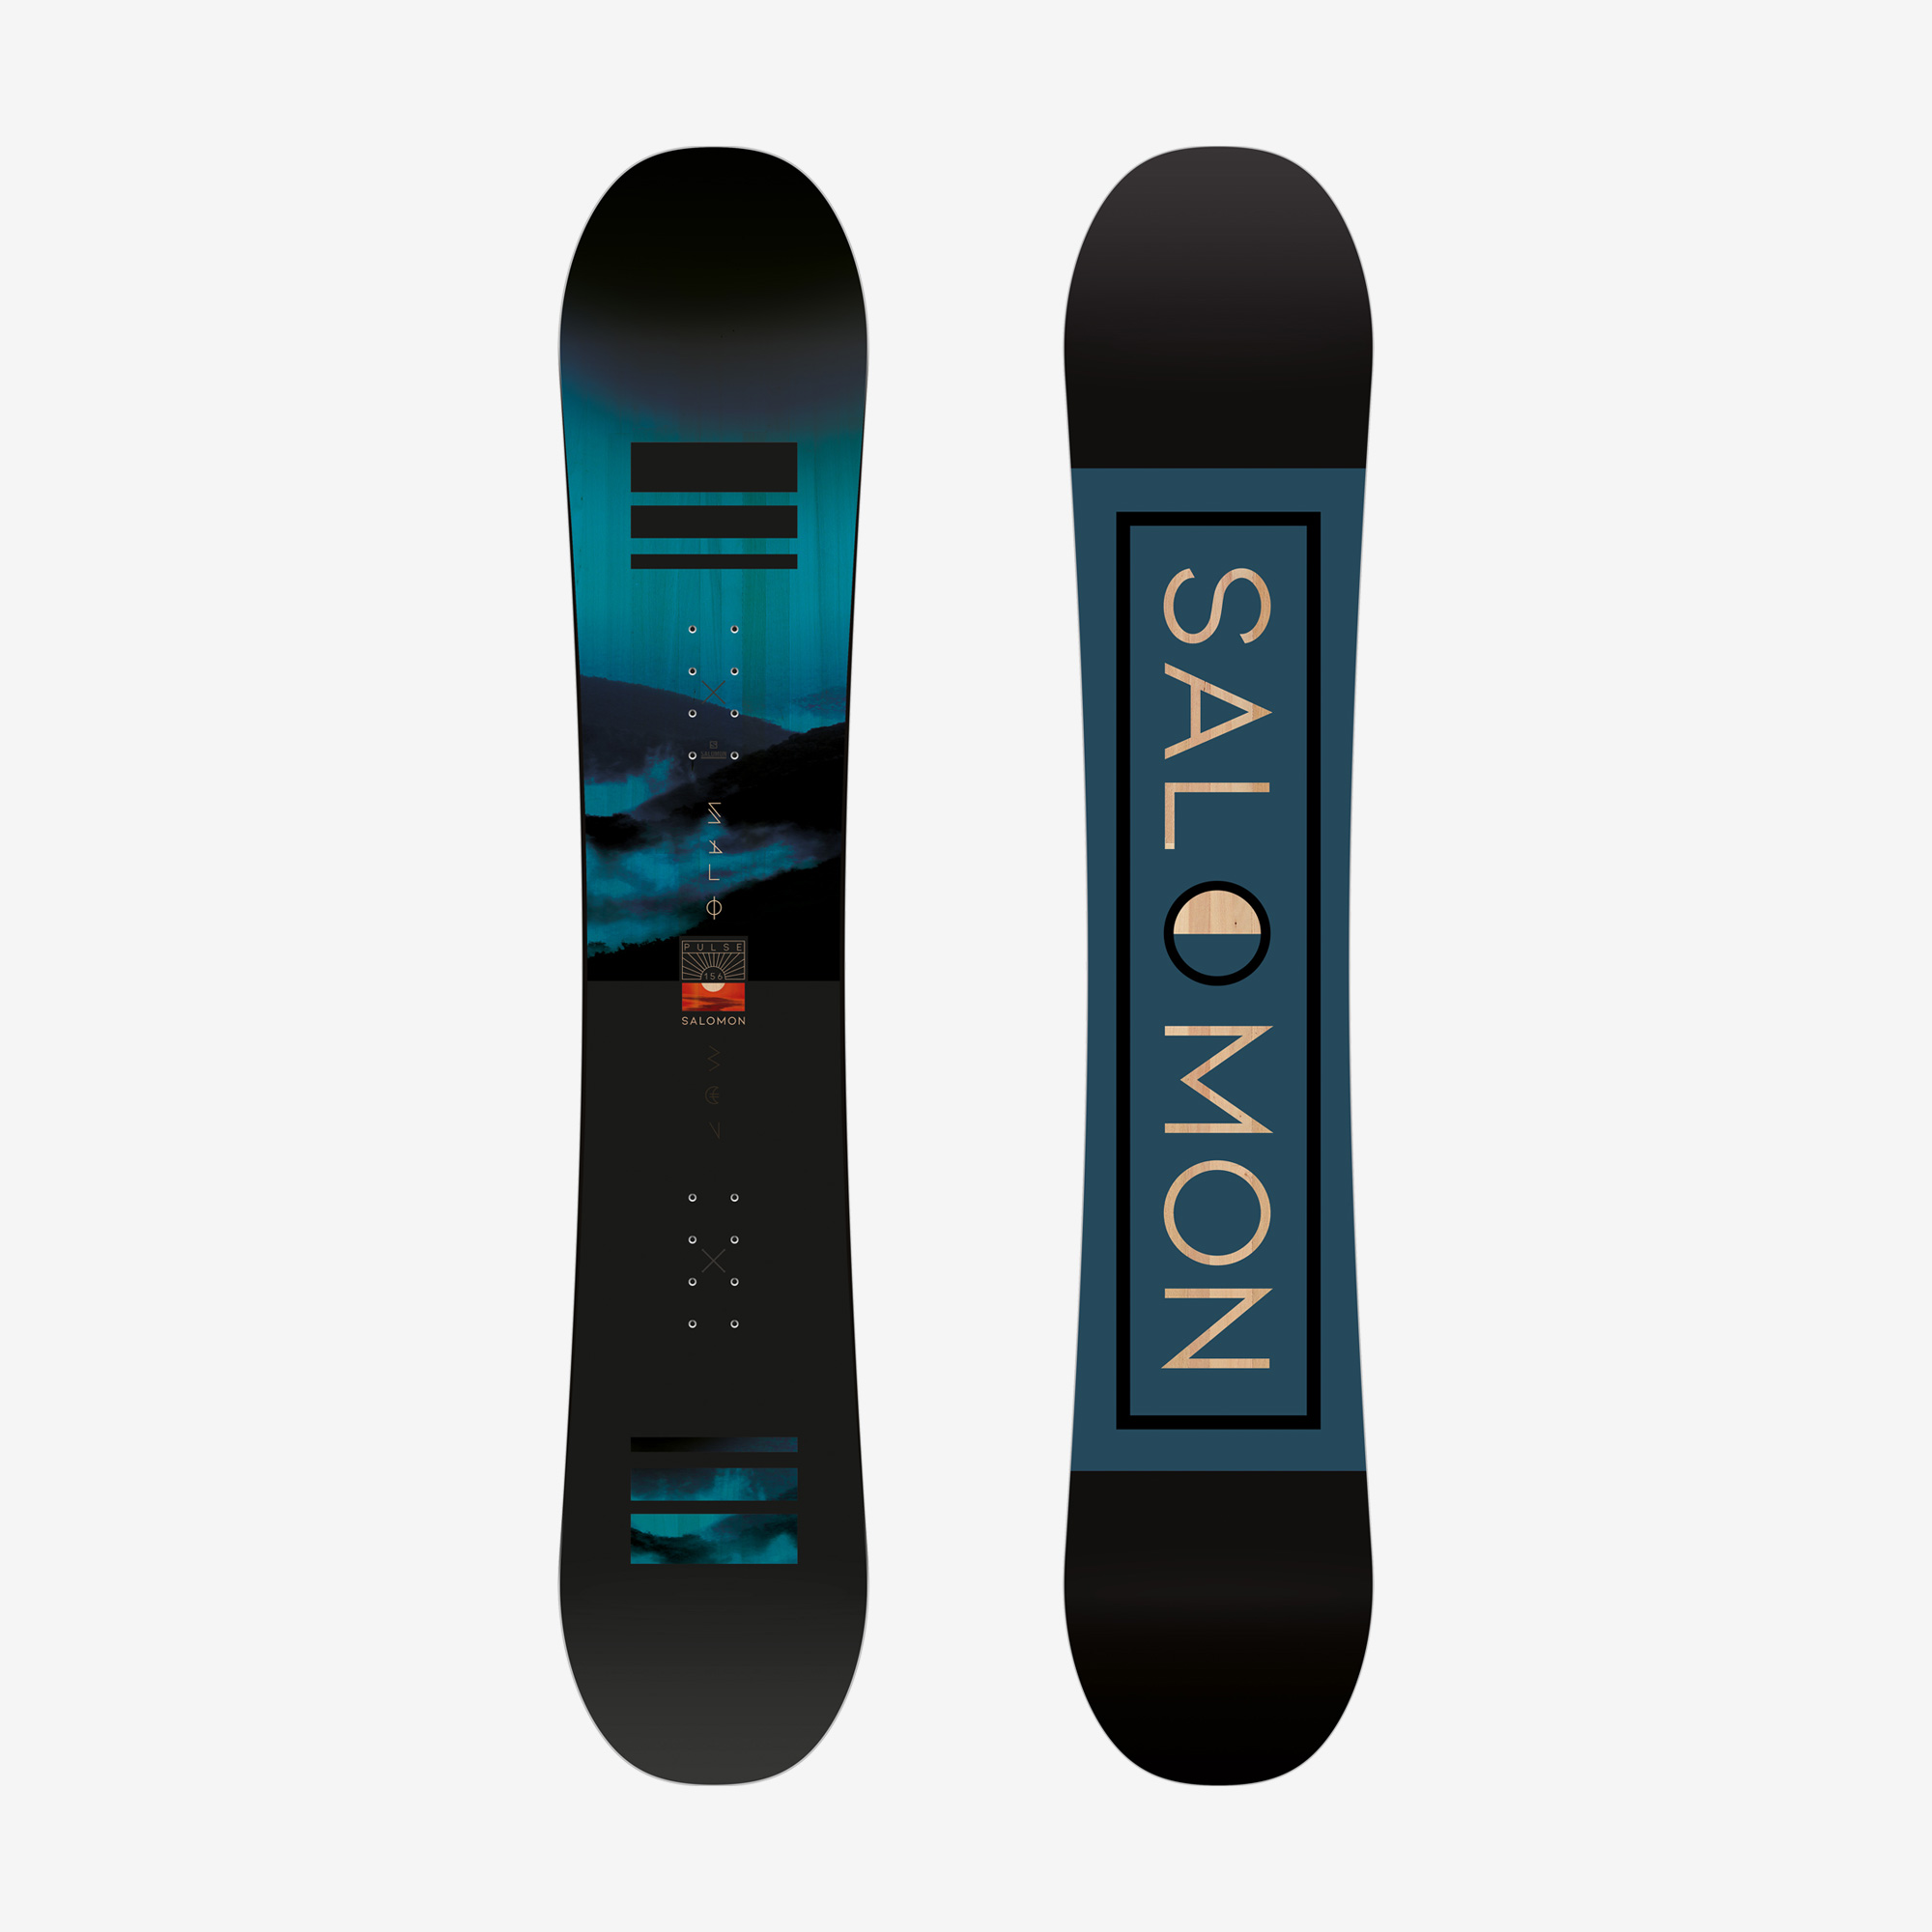
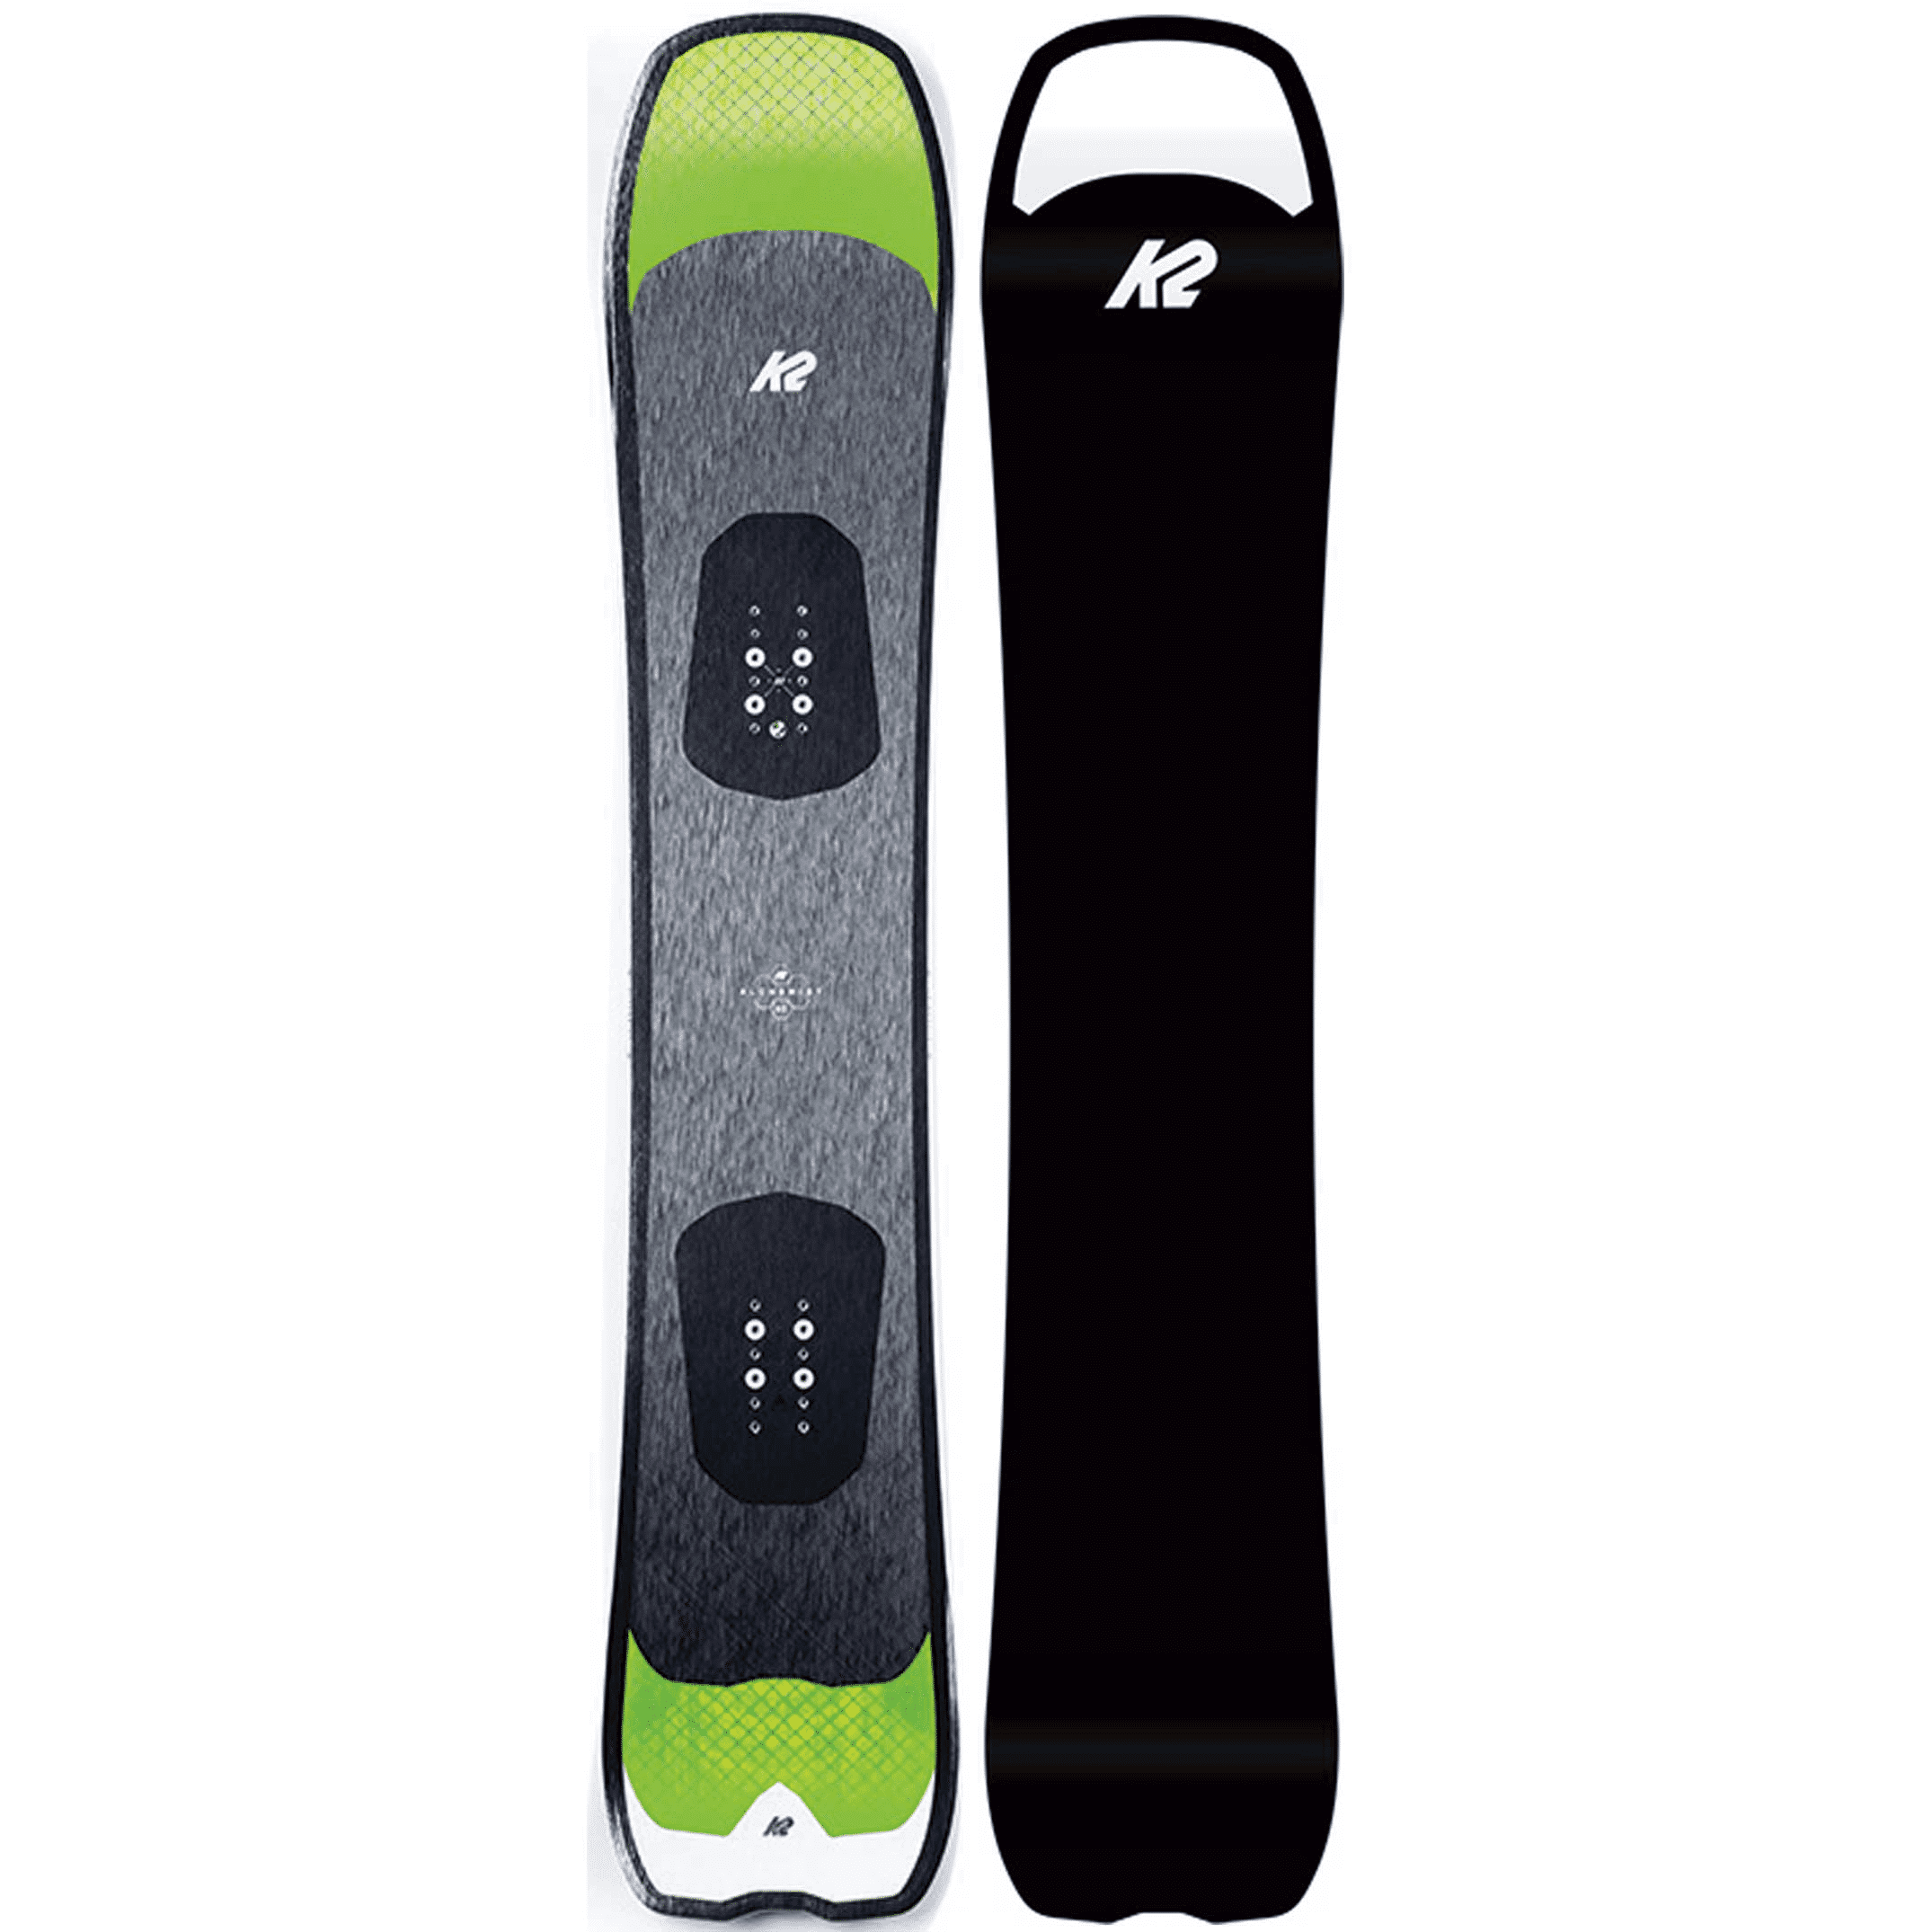
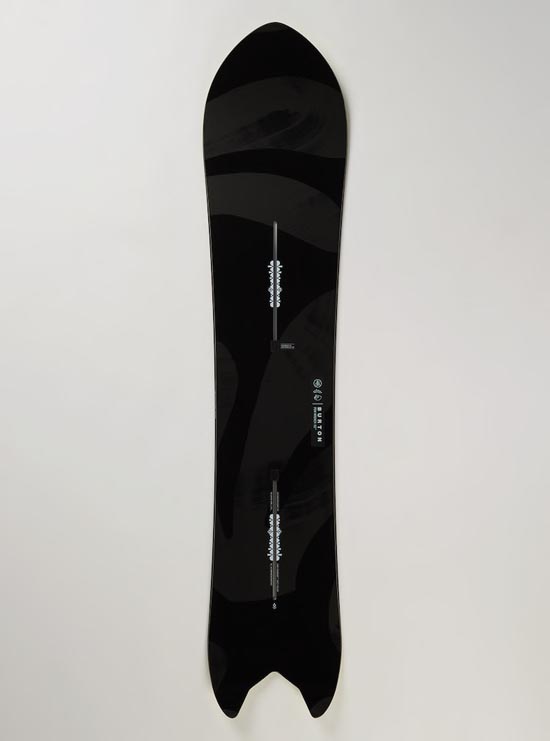
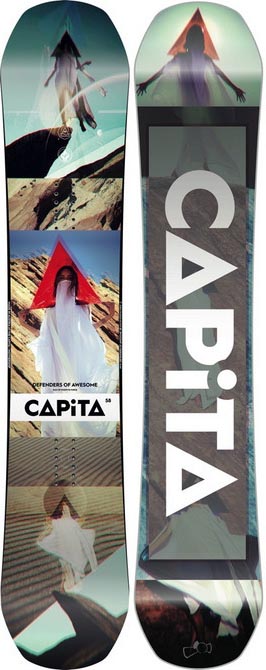
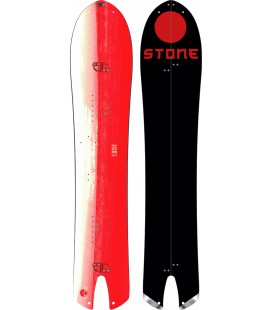
Finally, the splitboards. This program brings together a very specific type of board that deserves to be studied closely. Relatively new to the world of snowboarding, splitboards are designed for lovers of wide open spaces and nature. These are boards equipped with a freeride construction and profile, but with a very special detail, they split to form a pair of skis. There are several systems, splitboard in two or four parts, kit Voilé or Karakoram bindings, the world of splitboarding is technical. The important thing to remember is that a splitboard will allow you to climb like cross-country skiing, with a pair of skis and skins, then back down on a snowboard as if nothing had happened.
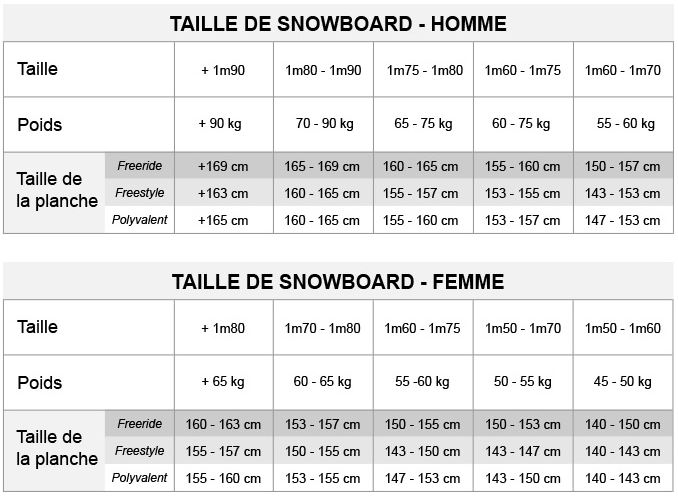
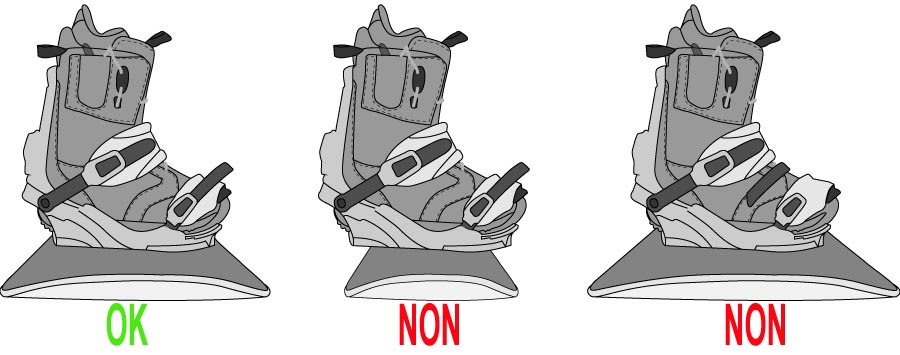
If you choose the length of your board carefully, you often tend to forget the width and yet this is an important criterion!
On a too narrow board your boots will protrude either at the heels or at the toes. Either way, you're going to be hampered when taking the edges. The boots will scratch the snow and in the best case you will be slowed down and out of balance, in the worst case it is the fall or the injury.
On a board that is too wide, your heels and / or your toes will be too far from the edge to exert sufficient pressure. The leverage will be too weak and you will have difficulty initiating and maintaining a turn. It is therefore important to choose a snowboard that has a width adapted to your size.